Making dessert that feels light, satisfying, and guilt-free doesn’t have to be tricky. I’ve found that when I swap out heavy creams and processed sugars for natural options, I get a mousse that’s every bit as creamy and flavorful, without any of that sluggish, overindulgent feeling. Whether you’re looking for a sweet treat to end a meal or a snack that fits your healthy routine, creating mousse with natural ingredients is totally doable and surprisingly fun.
Why Go Natural With Your Mousse?
Traditional mousse is often loaded with heavy cream, sugar, and sometimes even butter. That stuff can taste great, but it isn’t always the best fit for people who want to avoid processed ingredients or reduce saturated fat and sugar. Natural alternatives bring in fiber, vitamins, and even plant-based protein, depending on what you use. Plus, you can play with different flavors and textures that keep things interesting. The added bonus is that natural ingredients often help mousse feel lighter on the stomach and leave you feeling more refreshed after eating.
Health-focused desserts are gaining momentum everywhere. According to recent market reports, the switch up towards natural and plant-based options is only getting stronger, with a big part of that trend being desserts that don’t compromise on taste. People are trying to cut back on processed sugars and artificial additives, and natural mousse recipes make this surprisingly easy.
Classic mousse recipes are believed to have originated in France, but have seen all kinds of reinventions. Plant-based and natural ingredient versions are popping up everywhere because they’re simple, quick to make, and don’t require complicated techniques. With the right mix of ingredients, you’re all set for a mousse that tastes every bit as luxurious as the classic.
If you haven’t tried a natural mousse before, you might be surprised at how versatile it can be. For many, going natural is more than just a health move; it’s about experimenting in the kitchen and stumbling upon new flavor combinations. You get to track down the ingredients that you love best, and you always have the option to add your own twist to the basic recipe.
Getting Started: The Basics of Natural Mousse
Before making your mousse, picking the right natural ingredients makes all the difference. There are a few “go-to” swaps that work well, whether you want a chocolate, fruit, or coffee mousse. Here are some ingredients I keep on hand:
- Avocado: Rich and creamy, avocado blends smoothly to mimic the texture of classic mousse without needing any dairy.
- Coconut cream: The thick part at the top of a can of coconut milk is great for adding body and subtle flavor.
- Aquafaba: This is simply the liquid from canned chickpeas; when you whip it, it behaves a lot like egg whites for a fluffy texture.
- Natural sweeteners: Maple syrup, honey, or dates offer up real sweetness with extra nutrients instead of using white sugar.
- Dark chocolate or cocoa powder: Use at least 70% cocoa for a rich chocolate taste with less sugar and more antioxidant value.
- Fresh fruit: Berries, bananas, or mango can be blitzed into mousses for a fruity twist.
These swaps help create a dessert that’s lighter and a bit more nutrient-dense than what you’ll get from classic mousse recipes. I like to mix and match to find combos that suit the mood or what’s in season.
Quick Guide: How To Make Guilt-Free Mousse
Once you gather your natural ingredients, making mousse is fast and easy. Here’s a step-by-step walkthrough that works as a basic framework. Tweak as you like for flavor, sweetness, or dietary needs:
- Pick Your Base: Choose between avocado, coconut cream, or aquafaba, depending on the flavor and texture you want.
- Add the Flavor: Mix in raw cacao powder for chocolate, pureed fruit for fruity mousse, or brewed espresso for a coffee version.
- Sweeten Naturally: Blend in maple syrup, honey, or soaked dates. Add these gradually and taste along the way.
- Emulsify and Whip: For avocado and coconut cream bases, a food processor or blender gets things super silky. For aquafaba, use a hand mixer to whip it until it forms stiff peaks, then gently fold in your flavor or sweetener mix.
- Chill Before Serving: Setting the mousse in the fridge for at least an hour lets the flavors settle and texture firm up for that classic mousse feel.
- Toppings and Extras: Fresh berries, chopped nuts, or a dusting of cacao powder add color and texture. Play around with edible flowers or citrus zest for variety.
This method gives you a lot of flexibility. Different combos can fit vegan, dairy-free, or even keto diets, just by switching up your base and sweetener.
Things To Keep In Mind When Using Natural Ingredients
Going natural with mousse does take a little experimentation. Here are some things that have tripped me up before and what I’ve learned along the way:
- Texture Surprises: Avocado and coconut cream both get super creamy, but if you leave lumps, they’ll show up in the final mix. Always blend thoroughly for smoothness.
- Flavor Balancing: Avocado-based mousse can taste a tiny bit savory unless there’s enough chocolate or fruit to cover it. Test and adjust flavors before chilling.
- Sweeter or Less Sweet: Natural sweeteners can taste less intense than table sugar, so you might need a touch more than you think. Taste and add gradually; that’s the easiest way to get it right.
- Storing Leftovers: Without preservatives, natural mousse doesn’t last as long as regular desserts. Three to four days in a sealed container in the fridge is usually perfect.
Using Aquafaba For Fluffy Texture
If you want a mousse that’s super light and fluffy, whipping aquafaba is one of the handiest tricks. I use a stand or hand mixer and beat the liquid from canned chickpeas until it forms stiff, glossy peaks. Folding in melted dark chocolate or blended fruit gives you a mousse that tastes rich but isn’t heavy at all.
Using Avocado or Coconut Cream For Creaminess
Mousses made with avocado or coconut cream end up thick and satisfying, almost like a spreadable dessert. A high-speed blender does the best job of making sure everything is evenly mixed and silky. If you’re worried about avocado flavor, a splash of vanilla or some citrus zest helps balance things out really nicely.
Sweeteners: What Works (And What Doesn’t)
I find that maple syrup blends in smoothly with both avocado and coconut bases. Honey works too, but it can be overpowering if you add too much. Dates need to be soaked in hot water and blended until smooth for even mixing. Skip granulated sugar or artificial sweeteners; they can leave a gritty or weird aftertaste in most natural mousses.
Natural ingredients help keep your mousse lighter, with less processed sugar and more vitamins or fiber. Picking seasonal and ripe produce is always a good idea, since the flavor makes a big difference with such a simple dessert.
Pro Tips To Take Your Guilt-Free Mousse Up A Notch
Once you feel comfortable, there are easy ways to customize or upgrade your mousse. Here are some tips I’ve picked up:
Play With Mixins: Swirl in nut butters, chia seeds, or toasted coconut for extra texture and nutrition. A tiny pinch of sea salt also brings out the flavor in chocolate mousse especially well.
Go Fruity: Mix in a handful of fresh or frozen berries, blitzed smooth, for a burst of color and tartness. You can even layer fruit puree and mousse for a parfait vibe.
Infuse Flavors: Try adding instant espresso powder, a little cinnamon, or some orange zest. These flavors work together with either chocolate or vanilla mousse bases for more complexity.
These small tweaks help you find your favorite version. Plus, it feels way less rigid than classic French mousse, so you can have fun without stressing about making mistakes. Some of my best mousses came out of spur-of-the-moment ingredient swaps.
Real-Life Uses For Guilt-Free Mousse
Even if you’re not a kitchen pro, natural mousse is perfect for everything from family dinners to meal prep or snacking. Here are a few ways it comes in handy for me:
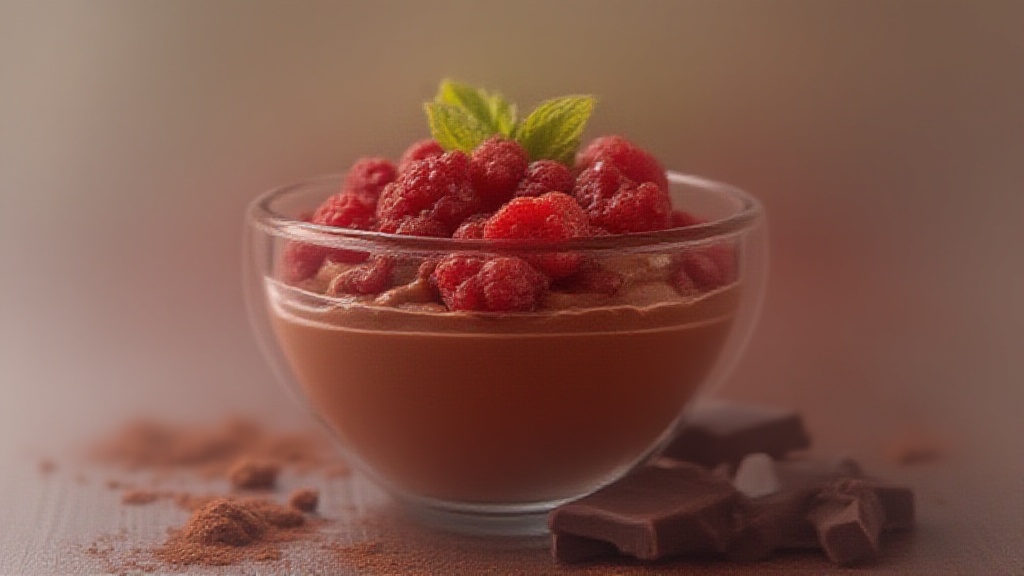
- Light Dessert: Serve in small glasses with fresh fruit on top for a fancy but easy-to-make finish to a meal.
- Healthy Snack: Pack in jars for a quick grab-and-go snack that beats a store-bought pudding cup any day.
- Brunch Topping: Spoon over pancakes, waffles, or oatmeal instead of syrup or cream.
- Party Parfaits: Make layered parfaits with fruit and granola for potlucks or brunch get-togethers.
I’ve even stumbled upon friends who use natural mousse as a cake or cupcake filling, and it works wonderfully. Don’t be afraid to use these creamy creations in place of traditional frostings, or to set free your creativity when decorating desserts for parties.
Frequently Asked Questions
Here are a few questions I get from friends when they’re trying guilt-free mousse for the first time:
Question: Will avocado mousse taste like avocado?
Answer: Not if you use enough cacao, fruit, vanilla, or citrus to balance it. The cocoa or fruit flavors almost always take over, especially after chilling.
Question: Is natural mousse safe for people with allergies?
Answer: Most natural mousse recipes are gluten-free and can be dairy-free, nut-free, or soy-free. Just double-check ingredients and swap bases and sweeteners to fit dietary needs.
Question: How do I get my mousse super fluffy without eggs or dairy?
Answer: Aquafaba is the way to go! Whip it like egg whites, then gently fold in your flavor blend. Let it chill to peak firmness afterward.
Wrapping Up
Trying out natural mousse recipes can be a game-changer if you want to keep dessert on the menu without any after guilt. Natural bases and sweeteners open up a bunch of possibilities, and there are so many ways to customize the recipe to fit your tastes or any diet you follow. I find that with a little practice, these mousses turn out every bit as rich, fluffy, and satisfying as the traditional ones, minus all of the downsides. It’s worth giving these swaps a try for yourself, and you just might end up liking them better than the original. So the next time you want a sweet treat that doesn’t weigh you down, grab some natural ingredients and let it rip with your own guilt-free mousse creation!