Home fermentation has been making a big comeback over the past few years. Besides saving some cash, fermenting at home is a satisfying way to experiment with flavors you just can’t find in a store. Sauerkraut and kimchi are the two heavy hitters in this category, but the world of fermented foods goes way beyond cabbage. For anyone curious about what’s actually happening in that crock or jar on your counter, and how to get started without making a mess, I put together this super detailed guide to home fermentation, with some handy tips to keep things easy and safe.
Getting Started with Home Fermentation
Fermentation is pretty simple at its core. You’re letting good bacteria do their thing, breaking down sugars and transforming raw veggies into flavorful, tangy, gut-friendly treats. With sauerkraut and kimchi, this means chopping or shredding vegetables, adding salt, and letting it sit at room temperature for a while. It’s a process that goes back thousands of years; people have relied on fermentation to preserve harvests and add zing to basic foods long before refrigeration was a thing.
The main draw of making these foods at home is that you control every step. You can pick the freshest veggies, choose spices you love, and skip any weird additives. If you’re already obsessed with food science or just want a fun kitchen project, fermentation is worth checking out. Plus, it’s a great way to give a boost to your gut health by adding more probiotics to your diet (here’s more on the health benefits of fermented foods).
When starting out, don’t stress about getting everything perfect. Even if you mess up a batch, it’s a learning experience, and most fails happen due to temperature changes, too little/too much salt, or veggies poking out of the brine. Once you have a process down, making consistent, tasty batches becomes second nature.
What You Need to Start Fermenting
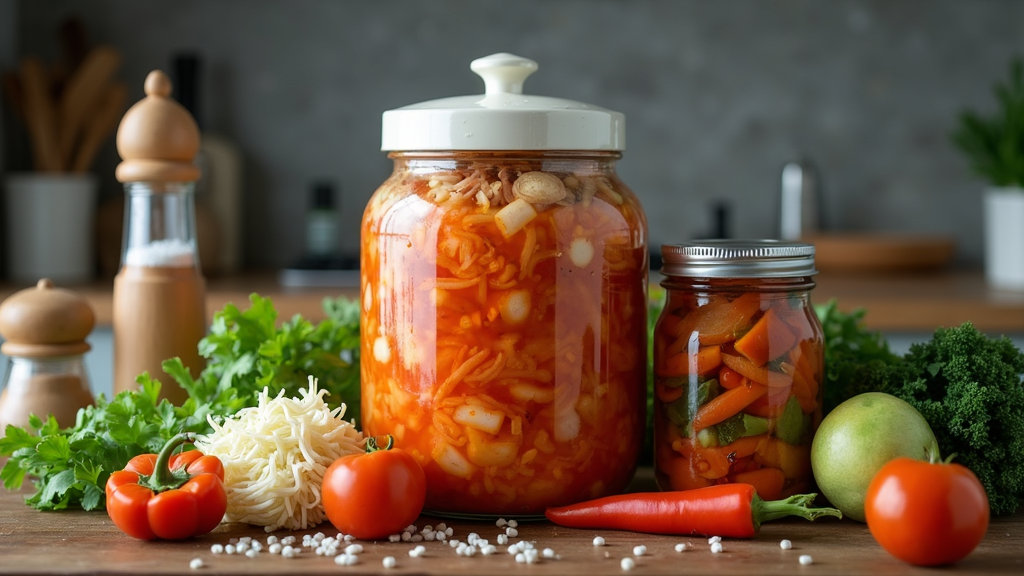
You don’t need much gear to get solid results at home. I’m a fan of keeping things super simple. Here’s what I reach for when I start a batch of sauerkraut or kimchi:
- Veggies: Cabbage for sauerkraut, napa cabbage or radishes for kimchi, but carrots, beets, or cauliflower also work.
- Salt: Fine sea salt usually works best. Avoid iodized salt as it can mess with fermentation.
- Fermentation Vessel: Big glass jars, small crocks, or foodsafe plastic containers are pretty standard.
- Weights: A clean rock, a glass weight, or just a smaller jar filled with water keeps veggies under the brine.
- Spices: Juniper berries, caraway seeds, garlic, chili flakes, ginger, or fish sauce, depending on your vibe.
No need to get fancy with fermenting gadgets right away. As long as everything is clean and your veggies stay below the brine, you’re set. If you get really into fermenting, you can check out airlock lids and special fermentation crocks, but basic glass jars work for just about every recipe.
How to Make Sauerkraut and Kimchi at Home
The foundation for both is similar: chopped or shredded cabbage plus salt, with some tweaks for flavor and tradition. Here’s a quick guide for each so you can see the difference.
Sauerkraut
- Slice or shred your cabbage. I usually go with one medium head for a quart jar. Remove any limp outer leaves first.
- Sprinkle salt (about 1 to 1.5 tablespoons, noniodized) over the cabbage in a big bowl. Massage with your hands for five minutes until cabbage gets limp and you see some brine form.
- Pack into a jar or crock, pressing down hard so there’s enough brine to cover the cabbage.
- Weigh it down. This keeps everything below the liquid line. Cover loosely to let gases out but avoid dust or bugs.
- Let it ferment at room temp (around 65-75°F) for 1-4 weeks. Start tasting after a week. When it’s tangy enough for you, pop it in the fridge.
Kimchi
- Cut napa cabbage into chunks, soak in a saltwater brine for a couple hours, then rinse and drain.
- Make your paste: Combine garlic, ginger, gochugaru (Korean chili flakes), fish sauce or soy sauce, maybe a little sugar, and green onions or radish if you like.
- Mix the paste with the drained cabbage, wearing gloves to avoid chili hands.
- Pack tightly into a fermenting jar, making sure there are no air pockets, and press everything down so it’s under its own juices.
- Ferment at room temp for 2-5 days. Taste daily. It’s done when you like it; store it in the fridge afterward where it can keep getting more sour.
Don’t worry if your first batch isn’t exactly like the storebought stuff. Some folks even say homemade versions step up the taste and nutritional punch, and you can put your spin on flavors every time.
Making Fermentation Work for You: Tips & Common Challenges
- Use enough salt, but not too much! Salt keeps bad bacteria away and pulls water from veggies, making brine. Using more than 2.5-3% salt by weight can slow or even stop fermentation. If you overdo it, your kraut or kimchi might not sour up much and stay too crunchy. Weigh your veggies and salt for best results.
- Veggies must stay under the brine. Any bits sticking out can get moldy. If you see fuzzy mold, scoop it out, but if it smells or looks weird, toss it and start again.
- Temperature matters. Too hot and things can turn mushy; too cold and nothing happens for weeks. Right around 70°F is usually ideal.
- Be patient. Fermentation isn’t a speed race. Flavor deepens and changes every day, especially in the first couple of weeks.
- Don’t freak out about white scum. A harmless white film called kahm yeast can show up. Just scoop it out and keep going.
Home fermenters sometimes stumble upon unusual color changes or odd smells. If you spot anything black, pink, or orange, or if the odor is offputting, don’t risk it—start over. Most white spots or bubbles are totally normal and are a good sign things are working.
To keep things simple, jot down salt amounts, veggie weights, and the time you start each batch in a notebook or phone note. That way, if you make a batch you love, it’s super easy to repeat and build on in your next round. Keeping records like this is especially handy if you want to track down what you did when something tastes extra eye-catching or, occasionally, when it just tastes “off.”
Can You Mix Sauerkraut and Kimchi Together?
You can absolutely mix sauerkraut and kimchi, either on your plate or right in a jar before fermentation. If both are fully fermented, mixing them for a meal gives you a cool combo of sour, spicy, and crunchy textures. If you want to ferment them together from the get-go, expect a mashup of flavors. The kimchi spices will probably dominate, but the mix will still ferment just fine as long as you keep your ratios of salt and veggies right.
If you love experimenting, try stirring a spoonful or two of finished kimchi into fresh kraut—this blend brings a next-level cool punch to grain bowls, sandwiches, and wraps. Or, toss some kimchi brine into a batch of sauerkraut to add that extra spicy kick right from the start.
Does Kimchi Get More Sour the Longer It Ferments?
Kimchi becomes more sour with extended fermentation because the lactic acid bacteria break down sugars into acids over time. If you like your kimchi extra zingy, let it go a little longer before moving to cold storage. Just remember, once it’s in the fridge, the process still happens, but much slower. Some people like to keep batches in the fridge for months, so it gets super funky (in a good way!).
The same applies to flavored kimchis, such as those with radish, carrot, or fruit. The longer you let them ferment in the fridge, the more complex and deep their flavor will become.
Does Sauerkraut Get More Sour the Longer It Ferments?
Sauerkraut follows the same rule. Over time, the sourness increases as more lactic acid is produced. If you like a milder kraut, stop fermentation earlier—somewhere around 7-10 days. For a pucker-worthy version, 3-4 weeks can really develop deep flavors and plenty of tang.
Tasting regularly is part of the fun, so start sampling after day seven. Notice the brine becoming cloudier and the crunch lessening as it gets more sour. That’s when you can call it done or let it ride for another week or two for next-level tang.
Can You Add Too Much Salt When Making Sauerkraut?
Yes, adding too much salt can slow or completely stop the fermentation. Lactic acid bacteria need the right environment to thrive; usually between 1.5% and 2.5% salt by vegetable weight. Anything above around 3% makes it tough for them to grow, and your kraut may stay bland and overly salty. If you think you’ve over-salted, you can rinse the batch and repack, but it’s usually better to weigh your ingredients and get it right from the start.
Investing in a small kitchen scale can help. Salt and veggie ratios are key for tasty ferments, especially if you want to experiment with new flavors or veggies.
Advanced Flavor Ideas for Home Fermenters
- Try new veggies: Carrots, daikon, beets, cauliflower, or green beans ferment well.
- Mix up your spices: Go global; think curry powder, herbes de Provence, cumin seeds, or dill heads for different takes.
- Add fruit for a funky twist: Apples, pears, or pineapple chunks work great in kimchi or kraut.
- Batch size experiments: Halfbatches fit in small jars; big crocks let you go all in for a party’s worth.
- Get creative with herbs: Basil, mint, cilantro, or tarragon add a fresh pop when you want to give traditional recipes a twist.
Testing small batches lets you check out bold flavor combinations without committing too many veggies. If you like heat, try fresh chili or jalapeno mixed in for extra zip. For mellow, sweet notes, reach for fennel seeds or shredded carrots.
Questions People Ask About Home Fermentation
Can you use regular table salt for fermentation?
Table salt usually has added iodine or anti-caking agents that can affect fermentation flavors or slow the process. Sea salt or pickling salt is better.
Do you have to use cabbage?
Nope, almost any crunchy vegetable can be fermented with salt brine.
How do you know if it’s safe to eat?
Trust your nose. Fermented veggies should smell pleasantly sour, never rotten or cheesy. If something feels off, it’s safer to compost the batch and try again.
Are fermented veggies really good for your gut?
Yes, most homefermented foods pack a variety of live probiotics. Every person’s gut is different, so effects vary, but lots of folks notice better digestion over time.
Fermentation at home doesn’t have to be an intimidating science project. With basic gear, a little patience, and some sense of adventure, you’ll have crunchy, tangy, and spicy homemade ferments for your next meal, plus the bonus of knowing exactly what’s in your food every step of the way.
If you want more inspiration, check out books like “The Art of Fermentation” by Sandor Katz or dig into online communities to see what other home fermenters are whipping up. Don’t be afraid to mix in some new veggies, spices, or fruits—the best flavors often show up when you decide to mix things up!