Dairy-free ice cream has opened up a whole new world of frozen treats, and it’s not just a passing trend. People with lactose intolerance, those with dairy allergies, vegans, or anyone looking to cut back on traditional dairy are reaching for these alternatives in growing numbers. The texture, flavor, and joy of ice cream can still be found, just with a twist. I’ll break down the essentials of understanding and making dairy-free ice creams, so you can get in on the fun at home.

Getting Into Dairy-Free Ice Creams: What Sets Them Apart?
The world of dairy-free ice creams has grown fast. No longer are you stuck choosing between a sad, icy sorbet and a bland frozen dessert. Major brands and small batch makers alike now offer scoops that taste and feel like the real deal. The rise of plant-based eating and awareness around food sensitivities have put these options in the spotlight, making them popular in grocery stores and ice cream shops.
Understanding how they work helps you pick the right ingredients or brands. Traditional ice cream relies heavily on cream, milk fat, and eggs to deliver that signature mouthfeel and rich taste. Dairy-free versions usually swap in plant milks and sometimes use stabilizers or thickeners to get things creamy. These swaps can impact the flavor, texture, and even how easy it is to churn your own at home.
The earliest dairy-free ice creams used mostly soy milk or rice milk, but now you’ll see options made from coconut, almonds, cashews, oats, and even bananas. This variety not only helps match personal preferences and allergies but also brings a range of flavors and textures to the table.
Simple Steps to Start Making Dairy-Free Ice Cream at Home
Taking the leap into homemade dairy-free ice cream is pretty doable. If you’re just getting started, there are a few basics that will help things go smoothly and keep your results tasty. Equipment, ingredient choices, and a few tricks for freezing are at the heart of it all.
I suggest beginning with a basic recipe until you get the hang of it before branching out into custom mixins or flavors. Here are a few things you’ll want to know:
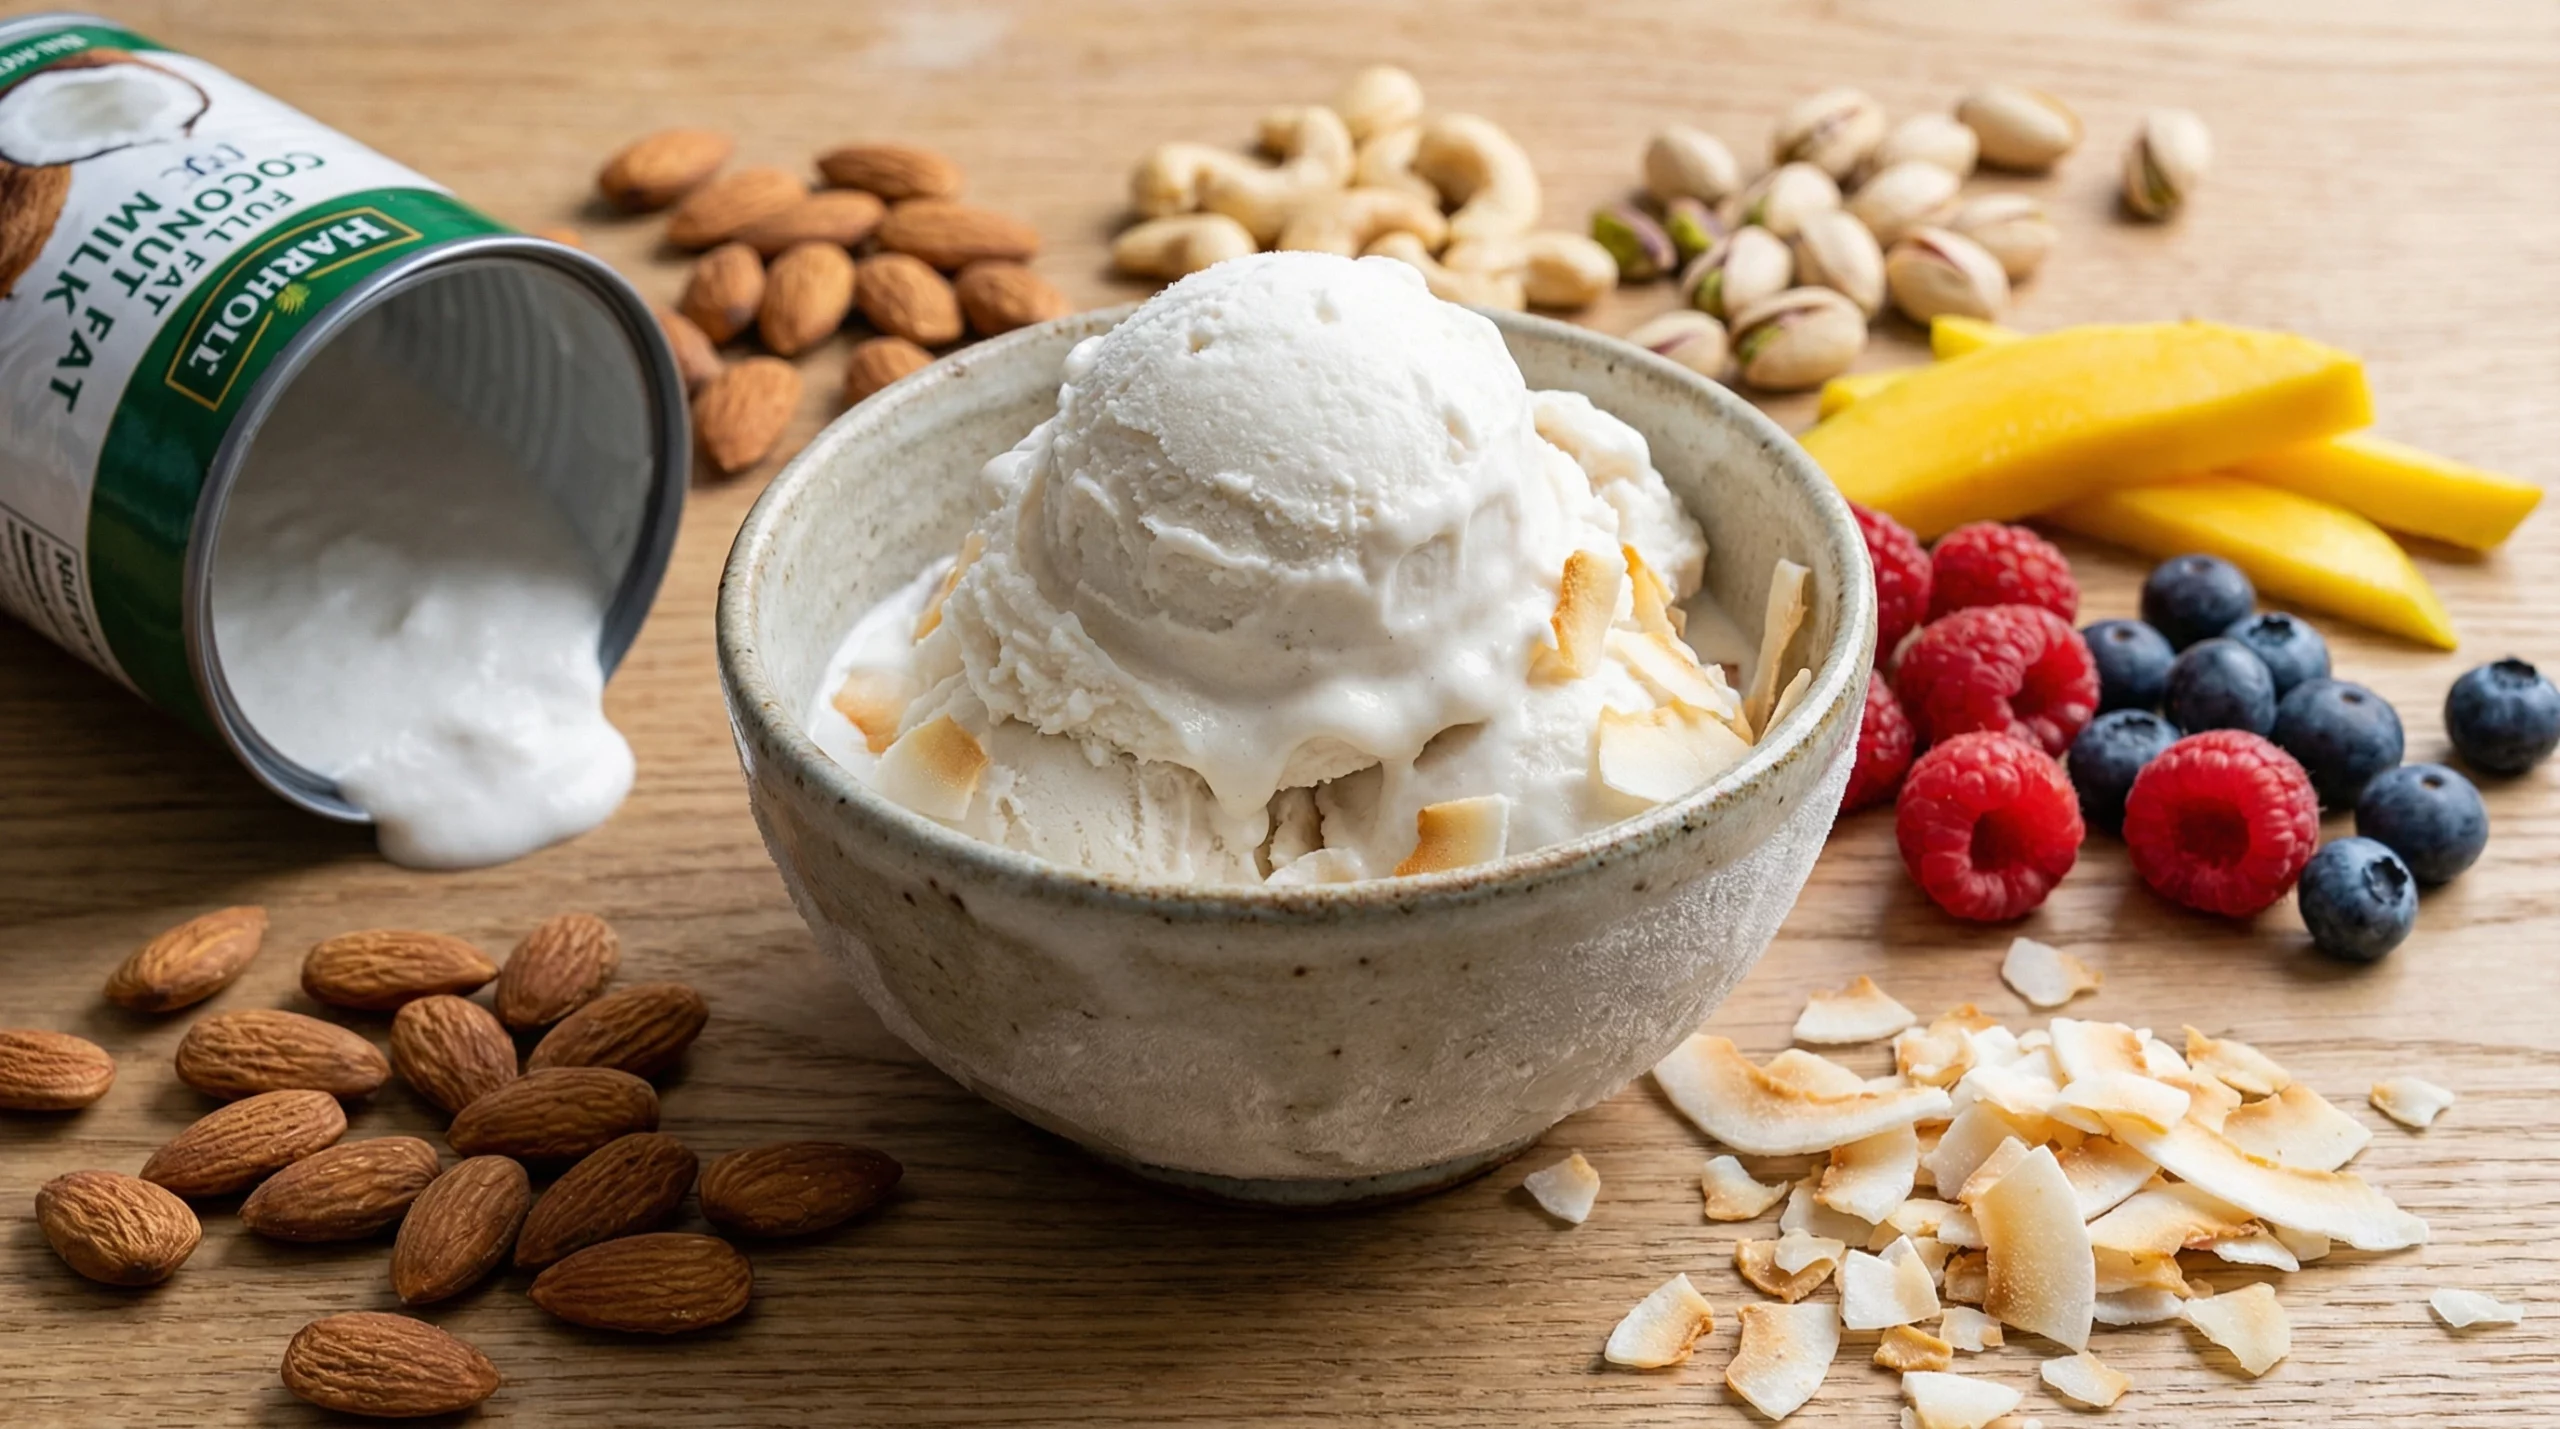
- Base Ingredient: Choose a plant milk like coconut milk, almond milk, oat milk, or cashew milk. Full-fat canned coconut milk is popular because it’s rich and creates a creamy texture similar to traditional ice cream.
- Sweetener: Many use cane sugar, maple syrup, agave, or even dates. Sweeteners can impact both the flavor and how soft your ice cream stays right out of the freezer.
- Thickener or Binder: To prevent iciness, you’ll often see recipes with a small amount of cornstarch, tapioca starch, or xanthan gum. Peanut butter, banana, or blended cashews can also help keep things creamy.
- Flavor and Mixins: Vanilla, cocoa powder, fruit purées, espresso, nuts, or chocolate chips all work beautifully. Just make sure your mixins are dairy-free, too!
Actionable How-To: Making Creamy Dairy-Free Ice Cream (No Experience Needed!)
Making dairy-free ice cream at home means experimenting, tasting, and tweaking. If you want that ultra-smooth, scoop-ready treat, here’s a straightforward approach anyone can try:
- Pick a Fatty Plant Milk: Use full-fat coconut milk, homemade cashew cream (soaked cashews blended with water), or oat milk for the creamiest results. Low-fat plant milks work for popsicles, but tend to freeze icy if you want a true ice cream texture.
- Blend With Sweetener and Flavors: Combine your plant milk with your sweetener of choice and any flavors. Think vanilla extract, cocoa powder, or a handful of berries.
- Simmer If Needed: To help bind everything together, especially when using starch, heat your mixture gently in a saucepan until it thickens slightly. Let it cool completely.
- Churn (Or Freeze): Pour the cooled mixture into an ice cream maker and churn as directed, or freeze in a shallow container, stirring every 30-45 minutes for a few hours for a homemade churn-free approach.
- Add Mixins: Stir in anything chunky, like chocolate chips or fruit, at the end or after churning.
Small batch makers and home cooks often find coconut milk-based ice creams the most forgiving when learning. They’re smooth even for beginners and have that old-school ice cream vibe with a subtle coconut taste.
What to Watch For: Common Challenges With Dairy-Free Ice Creams
Dairy-free ice cream is a blast to make, but sometimes you’ll run into a few issues if you’re new to the game. Knowing these speed bumps can save you a little kitchen frustration.
- Icy Texture: Plant milks can have less fat or more water than dairy, which means more chance for ice crystals. Using higher-fat bases like coconut milk, or adding nut butters and avocados helps keep your ice cream creamy.
- Flavor Can Be Subtle: Some base milks, like rice or oat, are milder and might need more vanilla or sweetener to taste like traditional ice cream. Don’t be afraid to taste as you go.
- Getting the Freeze Right: Homemade dairy-free ice creams often freeze harder than store-bought ones with stabilizers. To make scooping easier, let your ice cream sit out for 5-10 minutes after removing from the freezer.
- Mixins Sink: Heavy chunks can fall to the bottom as your ice cream freezes. Try adding mixins during the last minute of churning for better distribution.
Working Around Icy Texture
Fat content is super important in ice cream. Lower-fat bases tend to get icy because there’s not enough fat to keep the water in check. I stick with creamy coconut milk (the canned, full-fat stuff) or blended cashews to help solve this. You can also add a tablespoon or two of vodka to your base; it doesn’t flavor the ice cream but helps prevent hard freezing.
Flavor That Pops
Bold flavors help balance plant milk bases. Vanilla bean, cocoa, espresso powder, or real fruit purées add more intensity. I find roasted nut butters or swirls of jam keep flavors big and interesting.
Freezing and Scooping
Dairy-free ice creams are famous for freezing solid. When you remove the container from the freezer, just leave it on the counter until you can scoop easily. Small, shallow containers also help ice cream freeze faster and more evenly with less chance for big, unpleasant ice crystals.
Pro Tips and Tricks For The Creamiest Dairy-Free Results
Once you’ve made your first basic batch, there’s a ton of ways to take up a notch with homemade dairy-free ice cream. These tricks can help even if you’re working without fancy equipment:
Use a Blender for Smoothness: A high-speed blender whips together the fat, starch, and flavors neatly for a lush texture.
Heat With Starch: Cooking your mixture a bit with cornstarch or arrowroot helps bind up excess water and give a boost to creaminess. I eyeball about 2 teaspoons of starch for every 2 cups of liquid, but adjust to taste.
Don’t Skip the Cooling: Letting your base chill in the fridge gives you better churning and helps mixins stay suspended. This makes the whole process smoother and your final scoop creamier.
Try Aquafaba: Whipping the liquid from a can of chickpeas until fluffy and folding it in can add a new, almost marshmallow-like texture. Worth checking out if you’re feeling experimental.
Take Notes: Jot down what worked and what you’d tweak next time. Homemade ice creams may take a couple of tries to really dial in. Each batch can teach you something new, so keep track of your successes and experiments.
Use Pre-Frozen Mixins: When adding berries or fruit chunks, try freezing them first. This helps them hold their shape and texture in the finished ice cream.
Everyday Uses and Cool Ideas For Dairy-Free Ice Creams
Dairy-free ice cream isn’t just a treat for vegans. It works great for birthday parties, as a surprise in affogatos, sandwiched between cookies, or as a topping on warm pie. These versions are friendly for people with different allergies or dietary needs, making group events super inclusive. Try adding it to a morning smoothie bowl, or use leftovers to make fun popsicles. If you want a dessert that fits everyone’s needs, these options are a party-pleaser.
- Dessert Bar Favorite: Set out different flavors with sauces and dairy free toppings for build-your-own sundae nights. Guests can make the scoops truly their own.
- Healthier Treat Swaps: Make smaller, fruit-forward batches as an alternative to sugary processed snacks for kids. You’ll feel good handing out homemade treats with real fruit and less sugar.
- Creative Flavors: Test unique combo ideas like matcha coconut, roasted strawberry balsamic, or peanut butter and jelly swirl for a twist on the classic scoop. Don’t be afraid to mix in some variety.
You could also layer dairy-free ice cream with granola and fruit for a parfait, try making bite-sized “ice cream” sandwiches with gluten-free cookies, or even swirl it into milkshakes. The possibilities go way beyond the bowl.
Frequently Asked Questions
Curious about going dairy-free or troubleshooting your first batch? Here are some of the questions I hear all the time:
Question: Do I need a fancy ice cream maker to get started?
Answer: Not really! While ice cream makers give you smoother results, you can get decent results by freezing the mix in a shallow dish and stirring every half hour for a few hours.
Question: What plant milks work best for ice cream?
Answer: Coconut milk creates the creamiest texture, while cashew milk is also rich and smooth. Almond and oat milks work well if you add extra fat or thickeners.
Question: Can I make dairy-free ice cream totally sugar-free?
Answer: Yes, some people use dates, maple syrup, or stevia. But keep in mind, sugar not only sweetens but softens ice cream, so totally sugar-free versions may freeze a bit harder.
Question: How long does homemade dairy-free ice cream last in the freezer?
Answer: Most can be enjoyed for up to a week. Flavors and texture are best within the first few days, though. Let it sit on the counter to soften slightly before scooping.
Wrapping Up: Creamy, Dreamy Dairy-Free Ice Cream Awaits
Dairy-free ice cream opens the door to delicious frozen desserts no matter your dietary needs or preferences. A few simple techniques, the right base, and a willingness to experiment keep each batch fun and flavorful. Grab your favorite plant milk, clear out some freezer space, and set aside a few mixins. It’s all about keeping it creative and enjoying a scoop or two, that fits how you want to eat.
There’s a sweet world waiting for you, one dairy-free bowl at a time!


You mention that Acubi is all about clean lines, minimal colors (blacks, grays, whites), and a really put-together, sleek look.
And honestly, when I read “clean aesthetic,” my mind immediately goes to an old friend of mine who had a severe case of lactose intolerance. It’s funny what sticks with you!
He couldn’t touch a drop of milk, cheese, or cream, and he always used to joke that the only truly “clean” and predictable thing in his life was his wardrobe. He literally only wore black, gray, and white basics because they were easy, they always matched, and it was one less complicated decision in a life governed by reading every single food label.
Hello Dan!
This was such a fun and informative read — thank you! I’ve never made dairy-free ice cream before, and your explanations made it feel totally doable rather than intimidating. I love that you didn’t just give recipes, but also explained why different ingredients matter and how they affect texture and flavor.
I found myself thinking about how great this could be for family nights or summer treats when someone in the house wants something a little lighter or different. Do you find one base (like coconut vs oat vs almond) tends to give a creamier result? And for someone just starting out, are there any simple flavor combos you’d recommend that are almost impossible to mess up?
Thanks for the inspiration — I’m excited to give this a try!
Angela M 🙂